Tag: PowerShell

  • Change Windows Server 2025 Edition Using DISM

    Change Windows Server 2025 Edition Using DISM

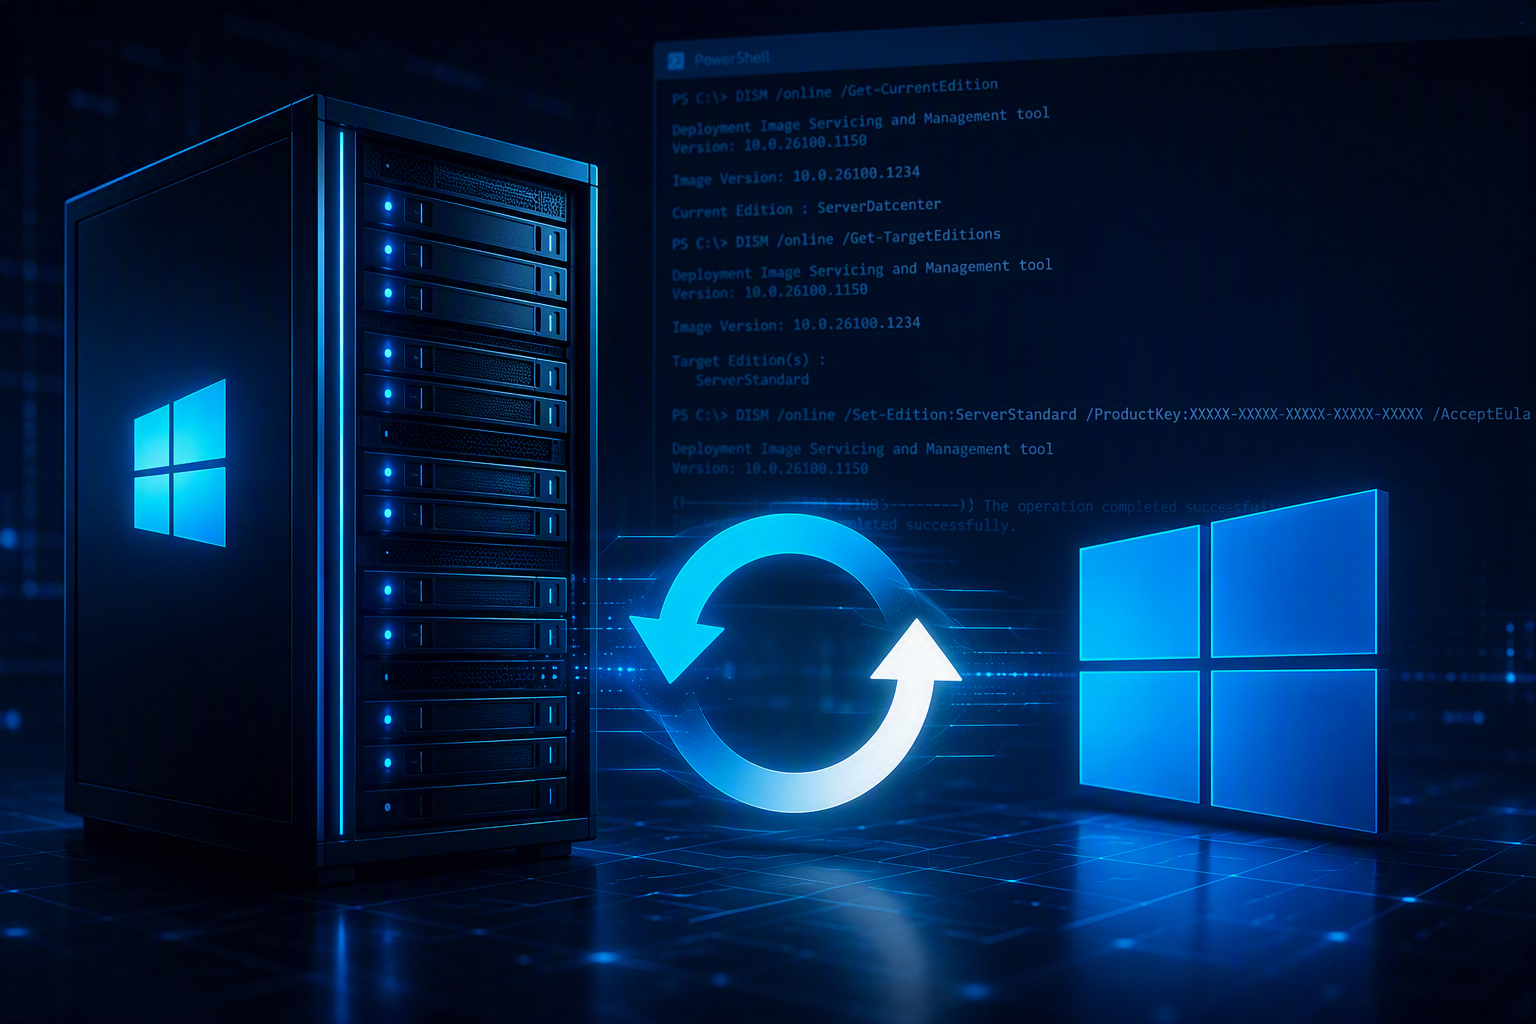
    Need to change a Windows Server 2025 installation to the Standard edition? In some scenarios, such as licensing corrections or deployment mistakes, you may need to switch the installed edition of Windows Server. This can be done directly from the command line using DISM.

    Check the Current Edition

    Before making any changes, verify which edition is currently installed:

    DISM /online /Get-CurrentEdition

    Change to Windows Server Standard

    To convert the server to the Standard edition, run the following command from an elevated Command Prompt or PowerShell window:

    Dism /online /Set-Edition:ServerStandard /ProductKey:XXXXX-XXXXX-XXXXX-XXXXX-XXXXX /AcceptEula

    Restart the Server

    Once the command completes successfully, Windows will prompt for a restart.

    The edition change will be finalized during the restart process.

    Verify the New Edition

    After the server comes back online, confirm that the conversion was successful:

    DISM /online /Get-CurrentEdition

    You can also check the edition from PowerShell:

    Get-ComputerInfo | Select-Object WindowsProductName

    Things to Know

    • Always ensure you have a valid license for the target edition.
    • A reboot is required to complete the conversion.
    • Not all edition changes are supported. Use Get-TargetEditions first to verify available conversion paths.
    • It is recommended to perform a backup or snapshot before making licensing changes on production servers.

    Conclusion

    DISM provides a straightforward way to change the Windows Server edition without reinstalling the operating system. By using the Set-Edition command and a valid product key, you can quickly convert a Windows Server 2025 installation to the Standard edition and complete the process with a single reboot.

  • How to Permanently Remove Soft-Deleted Microsoft 365 Users

    How to Permanently Remove Soft-Deleted Microsoft 365 Users

    When a Microsoft 365 user account is deleted, it is not immediately removed from the tenant. Instead, it is placed in the recycle bin as a soft-deleted object, allowing administrators to restore it if necessary.

    In some situations, such as cleanup operations, migrations, or testing environments, you may need to permanently remove these deleted accounts from Microsoft 365.

    This article shows how to list all soft-deleted users and permanently delete them using PowerShell.

    Connect to Microsoft 365

    Start an elevated PowerShell session and connect to Microsoft Online Services:

    Connect-MsolService

    You will be prompted to authenticate using an account with sufficient administrative permissions.

    List Soft-Deleted Users

    To display all users currently stored in the Microsoft 365 recycle bin, run:

    Get-MsolUser -All -ReturnDeletedUsers | Select DisplayName, UserPrincipalName, ObjectId | Format-Table

    Example output:

    DisplayName UserPrincipalName ObjectId
    2
    ----------- ----------------- --------
    3
    John Smith ExRemoved-dc6d160412444218fa06dbf4692079042@tenant.onmicrosoft.com

    Review the list carefully before proceeding with permanent removal.

    Permanently Delete a Soft-Deleted User

    To purge a deleted user from Microsoft 365 and remove it from the recycle bin permanently:

    Remove-MsolUser -UserPrincipalName "userprincipalname" -RemoveFromRecycleBin -Force

    Example:

    Remove-MsolUser -UserPrincipalName ExRemoved-dc6d160412444218fa06dbf4692079042@mydomain.onmicrosoft.com -RemoveFromRecycleBin

    PowerShell will ask for confirmation:

    Confirm
    2
    Continue with this operation?
    3
    [Y] Yes [N] No [S] Suspend [?] Help (default is "Y"):

    Press Y to continue.

    Verify the User Has Been Removed

    After the deletion completes, verify that the account no longer exists in the recycle bin:

    Get-MsolUser -UserPrincipalName ExRemoved-dc6d160412444218fa06dbf4692079042@mydomain.onmicrosoft.com -ReturnDeletedUsers

    If the command returns no results, the user has been successfully and permanently removed.

    Important Notes

    • Permanent deletion cannot be undone.
    • Any remaining Azure AD object associated with the deleted account will be removed.
    • Always verify that the account is no longer required before purging it.
    • Consider exporting a list of soft-deleted users before performing bulk cleanup operations.

    Conclusion

    Soft-deleted Microsoft 365 users remain recoverable until they are permanently removed from the recycle bin. Using the MSOnline PowerShell module, administrators can quickly identify deleted users, permanently purge them, and verify the cleanup operation.

    This process is particularly useful during tenant maintenance, migration projects, and housekeeping activities where obsolete accounts must be fully removed.

  • How to Temporarily Enable SMB1 to Copy Files from Legacy Servers

    How to Temporarily Enable SMB1 to Copy Files from Legacy Servers

    Introduction

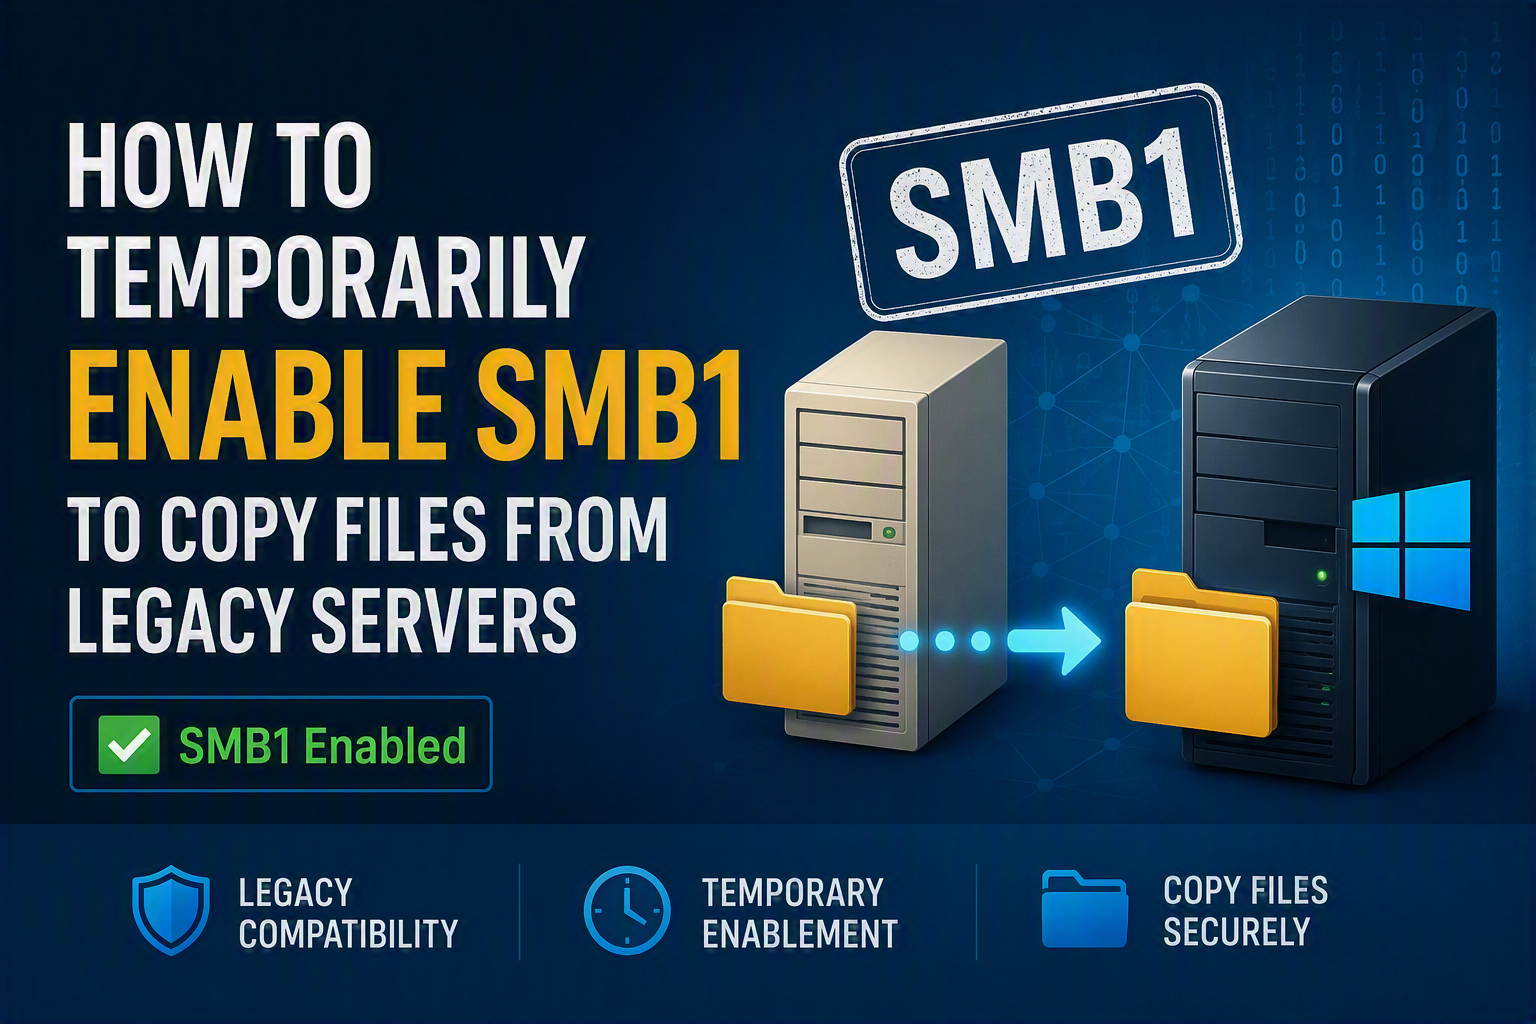
    Although SMBv1 has long been deprecated due to security concerns, many organizations still maintain legacy servers that only support this protocol. When migrating data from older systems to modern platforms such as Windows Server 2022 or Windows Server 2025, administrators may encounter connectivity issues because SMB1 is disabled by default.

    This article demonstrates a simple method to temporarily enable SMB1 on a modern server, transfer the required files, and then disable the protocol again to minimize security exposure.

    Warning: SMB1 is considered insecure and should only be enabled temporarily for migration or recovery scenarios. Always disable it immediately after completing the file transfer.

    Scenario

    In this example:

    • Legacy server: Only supports SMB1
    • Modern server: Windows Server 2022 / Windows Server 2025
    • Objective: Copy files from the legacy server to the new server

    Step 1: Enable SMB1 on the Modern Server

    Open PowerShell with administrative privileges and run:

    Enable-WindowsOptionalFeature -Online -FeatureName SMB1Protocol

    Depending on the server configuration, a reboot may be required before the feature becomes available.

    Step 2: Connect to the Legacy Server

    From the legacy server, map the share located on the modern server:

    net use drive-name: \\server\folder /user:domain\username password

    Example:

    net use Z: \\legacyserver\temp /user:mydomain\sysadminnotes *********

    After the drive is mapped successfully, copy the required files using Windows Explorer, Robocopy, or another preferred tool.

    Step 3: Disable SMB1 After the Migration

    Once the transfer is complete, remove the temporary compatibility feature from the modern server:

    Disable-WindowsOptionalFeature -Online -FeatureName SMB1Protocol

    If prompted, restart the server to ensure the protocol is fully disabled.

    Why You Should Disable SMB1 Immediately

    SMB1 lacks many of the security improvements introduced in newer versions of the protocol, including:

    • Enhanced authentication mechanisms
    • Improved encryption capabilities
    • Better protection against lateral movement attacks
    • Increased resilience against ransomware and network-based threats

    Leaving SMB1 enabled permanently unnecessarily increases the attack surface of the server.

    Best Practice

    When dealing with legacy systems, consider SMB1 as a temporary migration tool rather than a permanent solution. Whenever possible:

    • Upgrade or replace legacy servers
    • Use SMB2 or SMB3 for file transfers
    • Remove SMB1 immediately after the migration

    Conclusion

    When migrating files from older servers to Windows Server 2022 or Windows Server 2025, temporary SMB1 activation may be the only practical option. By enabling it only for the duration of the migration and disabling it immediately afterward, administrators can successfully transfer data while minimizing security risks.