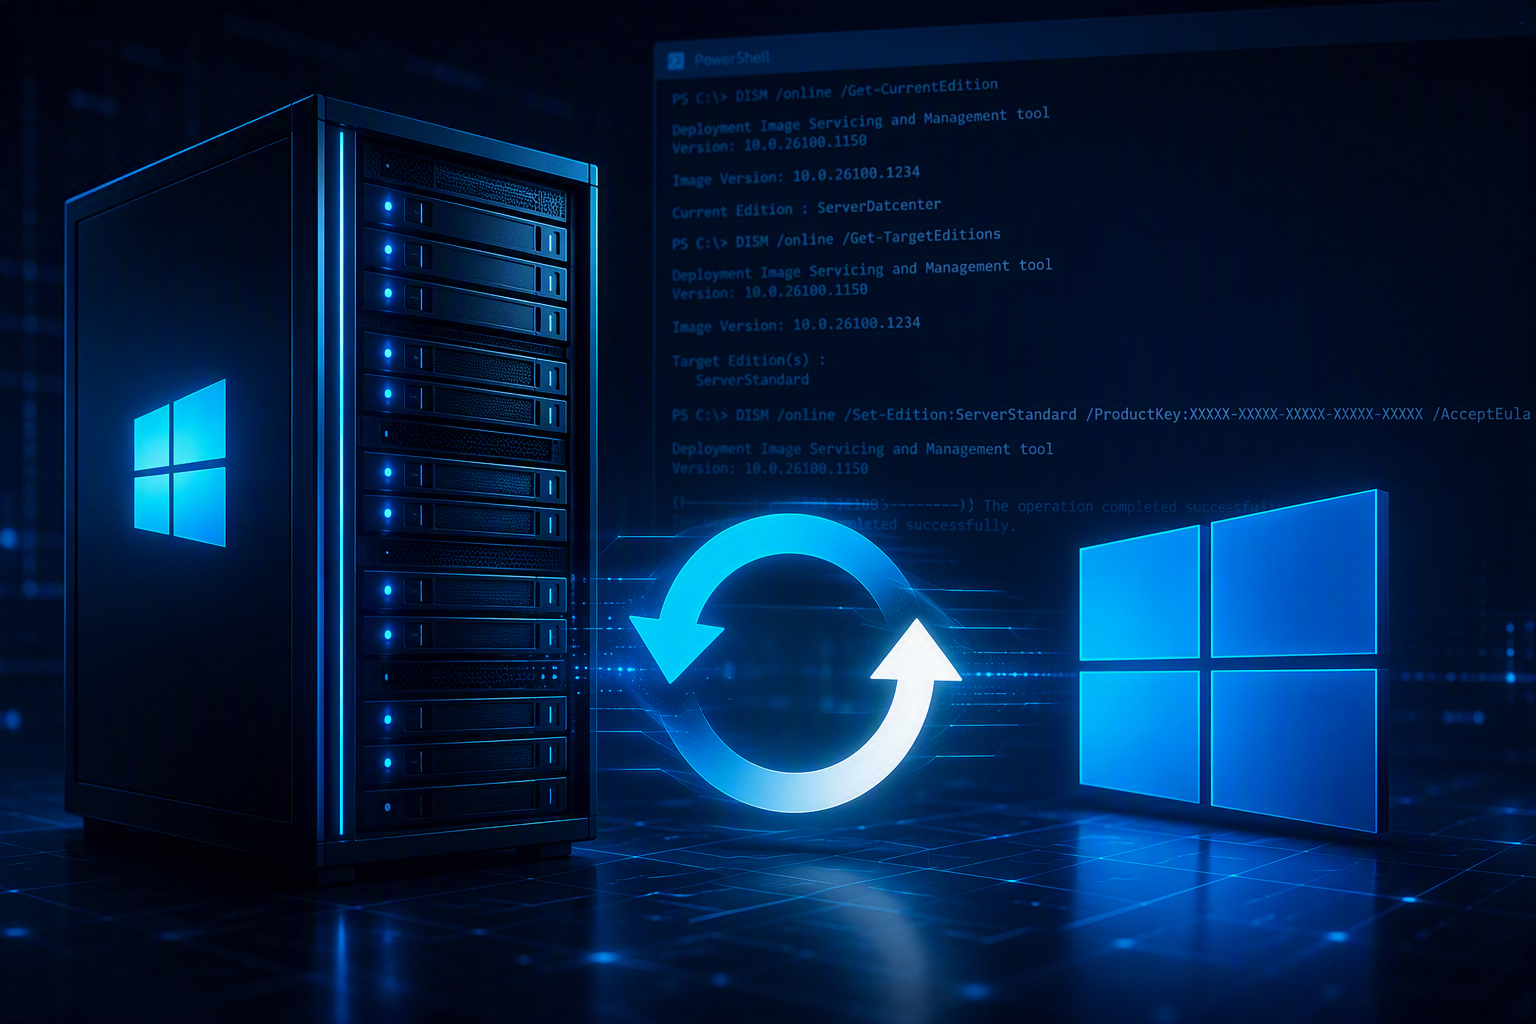
Need to change a Windows Server 2025 installation to the Standard edition? In some scenarios, such as licensing corrections or deployment mistakes, you may need to switch the installed edition of Windows Server. This can be done directly from the command line using DISM.
Check the Current Edition
Before making any changes, verify which edition is currently installed:
DISM /online /Get-CurrentEdition
Change to Windows Server Standard
To convert the server to the Standard edition, run the following command from an elevated Command Prompt or PowerShell window:
Dism /online /Set-Edition:ServerStandard /ProductKey:XXXXX-XXXXX-XXXXX-XXXXX-XXXXX /AcceptEula
Restart the Server
Once the command completes successfully, Windows will prompt for a restart.
The edition change will be finalized during the restart process.
Verify the New Edition
After the server comes back online, confirm that the conversion was successful:
DISM /online /Get-CurrentEdition
You can also check the edition from PowerShell:
Get-ComputerInfo | Select-Object WindowsProductName
Things to Know
- Always ensure you have a valid license for the target edition.
- A reboot is required to complete the conversion.
- Not all edition changes are supported. Use
Get-TargetEditionsfirst to verify available conversion paths. - It is recommended to perform a backup or snapshot before making licensing changes on production servers.
Conclusion
DISM provides a straightforward way to change the Windows Server edition without reinstalling the operating system. By using the Set-Edition command and a valid product key, you can quickly convert a Windows Server 2025 installation to the Standard edition and complete the process with a single reboot.
Leave a Reply