Category: Windows

  • How to Temporarily Enable SMB1 to Copy Files from Legacy Servers

    How to Temporarily Enable SMB1 to Copy Files from Legacy Servers

    Introduction

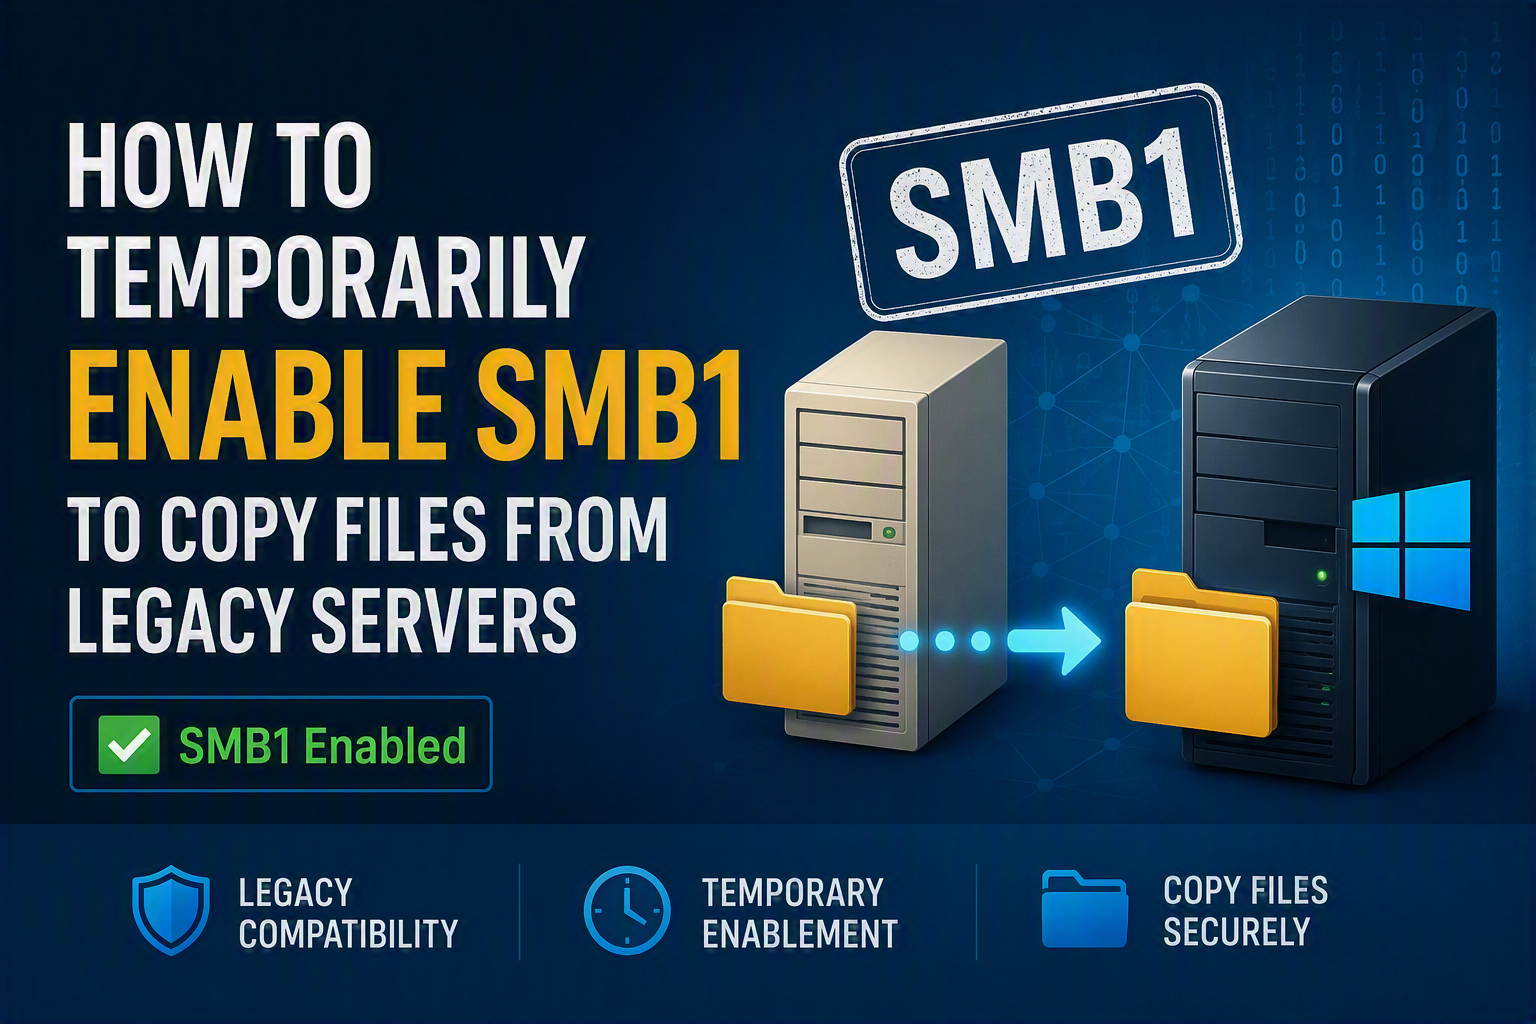
    Although SMBv1 has long been deprecated due to security concerns, many organizations still maintain legacy servers that only support this protocol. When migrating data from older systems to modern platforms such as Windows Server 2022 or Windows Server 2025, administrators may encounter connectivity issues because SMB1 is disabled by default.

    This article demonstrates a simple method to temporarily enable SMB1 on a modern server, transfer the required files, and then disable the protocol again to minimize security exposure.

    Warning: SMB1 is considered insecure and should only be enabled temporarily for migration or recovery scenarios. Always disable it immediately after completing the file transfer.

    Scenario

    In this example:

    • Legacy server: Only supports SMB1
    • Modern server: Windows Server 2022 / Windows Server 2025
    • Objective: Copy files from the legacy server to the new server

    Step 1: Enable SMB1 on the Modern Server

    Open PowerShell with administrative privileges and run:

    Enable-WindowsOptionalFeature -Online -FeatureName SMB1Protocol

    Depending on the server configuration, a reboot may be required before the feature becomes available.

    Step 2: Connect to the Legacy Server

    From the legacy server, map the share located on the modern server:

    net use drive-name: \\server\folder /user:domain\username password

    Example:

    net use Z: \\legacyserver\temp /user:mydomain\sysadminnotes *********

    After the drive is mapped successfully, copy the required files using Windows Explorer, Robocopy, or another preferred tool.

    Step 3: Disable SMB1 After the Migration

    Once the transfer is complete, remove the temporary compatibility feature from the modern server:

    Disable-WindowsOptionalFeature -Online -FeatureName SMB1Protocol

    If prompted, restart the server to ensure the protocol is fully disabled.

    Why You Should Disable SMB1 Immediately

    SMB1 lacks many of the security improvements introduced in newer versions of the protocol, including:

    • Enhanced authentication mechanisms
    • Improved encryption capabilities
    • Better protection against lateral movement attacks
    • Increased resilience against ransomware and network-based threats

    Leaving SMB1 enabled permanently unnecessarily increases the attack surface of the server.

    Best Practice

    When dealing with legacy systems, consider SMB1 as a temporary migration tool rather than a permanent solution. Whenever possible:

    • Upgrade or replace legacy servers
    • Use SMB2 or SMB3 for file transfers
    • Remove SMB1 immediately after the migration

    Conclusion

    When migrating files from older servers to Windows Server 2022 or Windows Server 2025, temporary SMB1 activation may be the only practical option. By enabling it only for the duration of the migration and disabling it immediately afterward, administrators can successfully transfer data while minimizing security risks.
  • How to Disable Fast Startup in Windows Using PowerShell

    How to Disable Fast Startup in Windows Using PowerShell

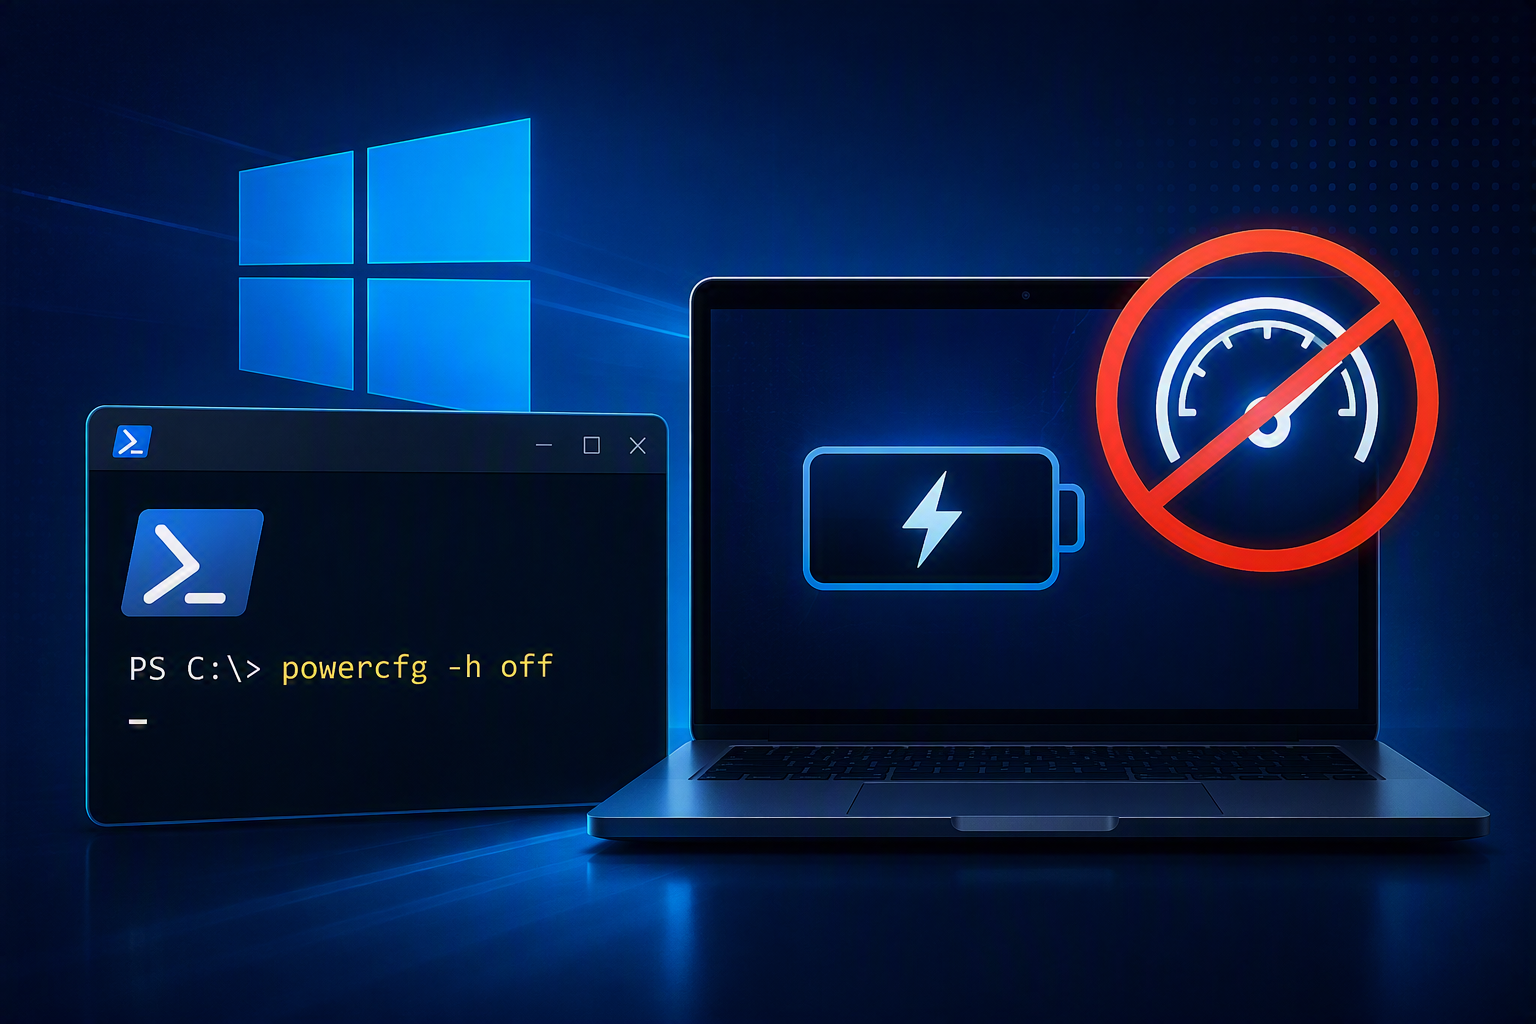
    Fast Startup is a Windows feature designed to reduce boot times by partially hibernating the operating system when shutting down. While this can improve startup performance, it may also cause unexpected issues with updates, device initialization, remote management, and troubleshooting activities.

    For IT administrators and power users, disabling Fast Startup is often recommended to ensure a clean shutdown and startup cycle.

    What Is Fast Startup?

    Introduced in Windows 8 and available in Windows 10 and Windows 11, Fast Startup combines elements of a traditional shutdown and hibernation.

    Instead of fully closing the Windows kernel during shutdown, the operating system stores the kernel session in the hibernation file (hiberfil.sys). During the next startup, Windows reloads this file instead of performing a complete boot process.

    Benefits

    • Faster boot times
    • Reduced startup delays on traditional hard drives
    • Improved user experience for home users

    Potential Issues

    In enterprise environments, Fast Startup can sometimes create problems such as:

    • Windows Updates not applying correctly
    • Wake-on-LAN inconsistencies
    • BitLocker recovery prompts
    • Dual-boot operating system issues
    • Network adapter initialization problems
    • Inaccurate uptime reporting
    • Troubleshooting complications when a full restart is required

    Disable Fast Startup Using PowerShell

    The Fast Startup setting is controlled through the following registry value:

    HKLM\SYSTEM\CurrentControlSet\Control\Session Manager\Power\HiberbootEnabled

    Value meanings:

    ValueDescription
    1Fast Startup Enabled
    0Fast Startup Disabled

    The following PowerShell script disables Fast Startup by setting the value to 0.

    $Path = "HKLM:\SYSTEM\CurrentControlSet\Control\Session Manager\Power"
    2
    $Name = "HiberbootEnabled"
    3
    $value = "0"
    4
     
    5
    If (!(Test-Path $Path))
    6
    {
    7
    New-Item -Path $Path -Force | Out-Null
    8
    New-ItemProperty -Path $Path -Name $Name -Value $value -PropertyType DWORD -Force | Out-Null
    9
    }
    10
    Else
    11
    {
    12
    New-ItemProperty -Path $Path -Name $Name -Value $value -PropertyType DWORD -Force | Out-Null
    13
    }

    This can be deployed through:

    • Microsoft Intune
    • Configuration Manager (SCCM/MECM)
    • Group Policy startup scripts
    • Remote PowerShell sessions

    Deploying Through Intune

    If you’re managing Windows devices with Microsoft Intune, you can deploy the PowerShell script as:

    1. Devices
    2. Scripts and Remediations
    3. Platform Scripts
    4. Upload the script
    5. Assign it to the required device group

    This provides a simple and scalable way to disable Fast Startup across an entire organization.

    Final Thoughts

    Fast Startup can reduce boot times for end users, but in managed environments it may introduce unnecessary complexity when dealing with updates, encryption, remote administration, and troubleshooting.

    For organizations that prioritize stability and predictable system behavior, disabling Fast Startup is often a recommended best practice. PowerShell provides a quick and reliable method to apply the configuration locally or at scale through enterprise management tools such as Intune or Configuration Manager.

  • Fixing the CredSSP Error When Connecting to Legacy Servers via Remote Desktop (RDP)

    Fixing the CredSSP Error When Connecting to Legacy Servers via Remote Desktop (RDP)

    If you’ve ever tried connecting to an older Windows server using Remote Desktop (RDP) and received a CredSSP encryption oracle remediation error, you’re not alone.

    This issue became common after Microsoft released security updates to address vulnerabilities in the Credential Security Support Provider (CredSSP) protocol. While these updates improved security, they also introduced compatibility issues between fully patched clients and older, unpatched servers.

    Typical Error Message

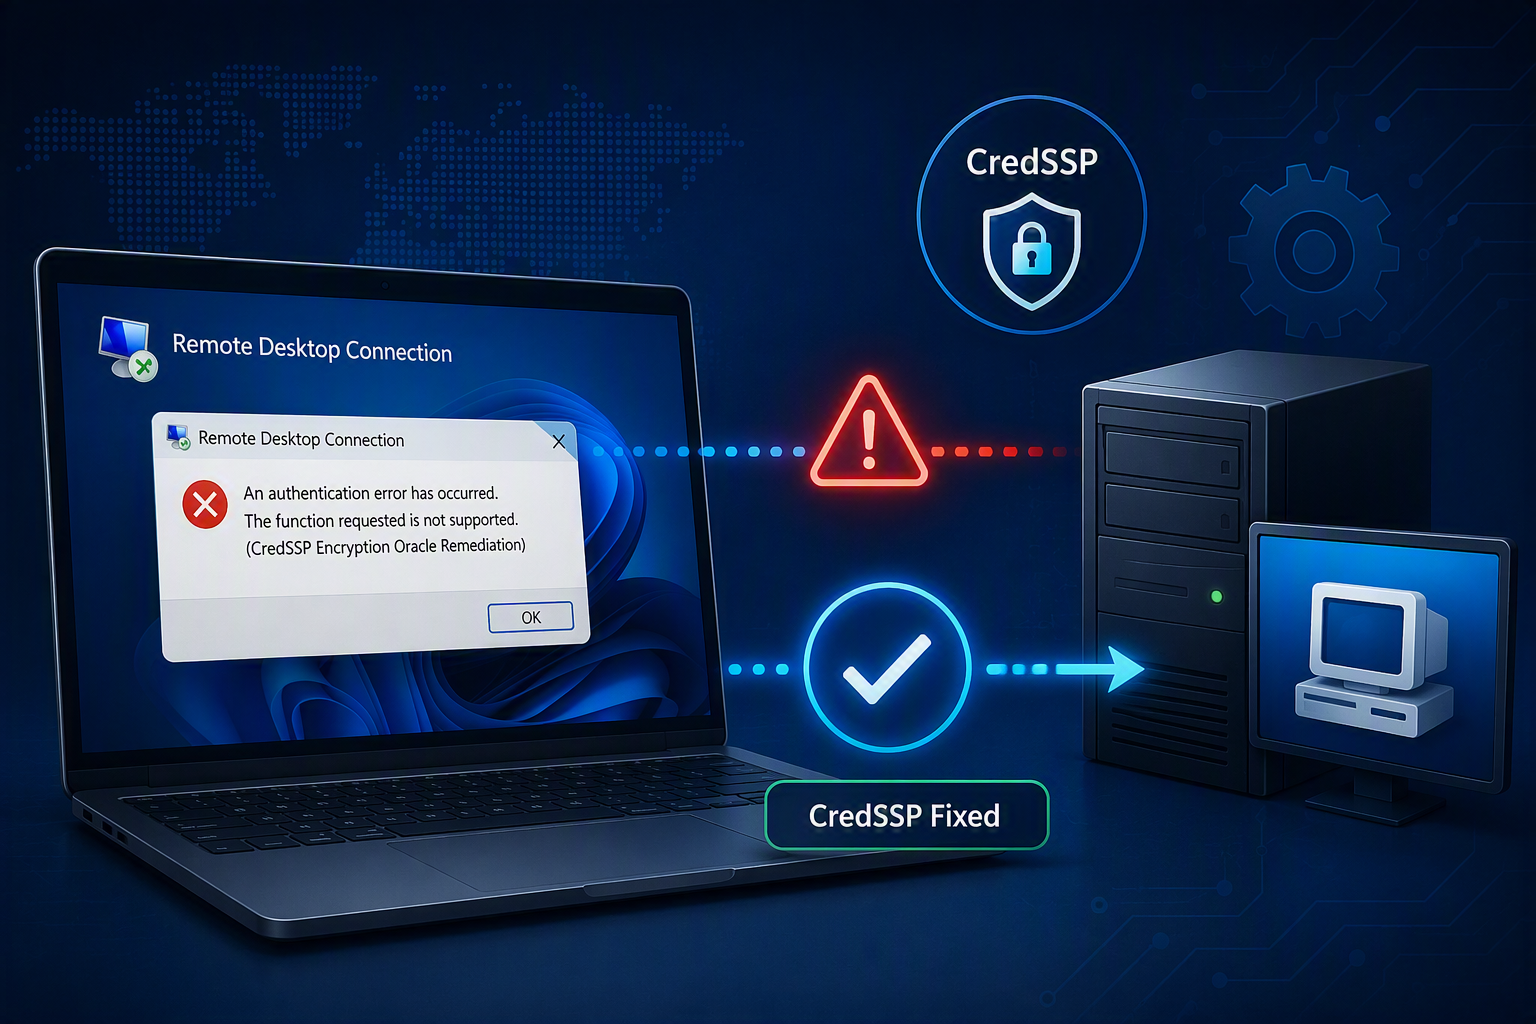
    When attempting to connect through Remote Desktop, you may see an error similar to:

    An authentication error has occurred.

    The function requested is not supported.

    This could be due to CredSSP encryption oracle remediation.

    Why This Happens

    Microsoft tightened the validation process used during RDP authentication to mitigate a security vulnerability. As a result:

    • Newer Windows clients may refuse connections to older servers.
    • Legacy servers that have not received the required security updates can trigger the CredSSP error.
    • The issue is commonly encountered in environments with end-of-life operating systems or servers that are no longer regularly patched.

    Temporary Workaround

    ⚠️ Security Warning: The following workaround reduces the security level of the local computer and should only be used when connecting to trusted legacy systems. Where possible, update the target server instead.

    Open an elevated Command Prompt (Run as Administrator) and execute:

    REG ADD "HKLM\SOFTWARE\Microsoft\Windows\CurrentVersion\Policies\System\CredSSP\Parameters" /v AllowEncryptionOracle /t REG_DWORD /d 2 /f

    This configures the client to allow connections to servers that do not support the latest CredSSP security requirements.

    Apply the Change

    After executing the registry command:

    1. Close any active Remote Desktop sessions.
    2. Restart the Remote Desktop client.
    3. Attempt the RDP connection again.

    In some cases, a system reboot may be required before the change takes effect.

    Reverting the Change

    Once the server has been patched or upgraded, it is recommended to remove this workaround.

    To delete the registry value:

    REG DELETE "HKLM\SOFTWARE\Microsoft\Windows\CurrentVersion\Policies\System\CredSSP\Parameters" /v AllowEncryptionOracle /f

    Alternatively, set the policy back to its secure default configuration through Group Policy or system updates.

    Long-Term Recommendation

    This registry modification should be considered a temporary compatibility fix rather than a permanent solution.

    The best practice is to:

    • Patch the target server with the latest security updates.
    • Migrate unsupported operating systems.
    • Maintain consistent patching levels across servers and workstations.
    • Avoid reducing client-side security settings whenever possible.

    Conclusion

    The CredSSP error is typically caused by a security mismatch between modern Windows clients and older servers. While setting AllowEncryptionOracle to 2 can restore connectivity, administrators should view this as a short-term workaround and prioritize updating legacy systems to maintain a secure environment.